Spatial is a metaverse platform that allows anyone to create immersive 3D spaces, which can be instantly shared to the Web, iOS, Android, and VR, and explored by others. The Spatial Creator Toolkit, powered by Unity, allows you to add even more interactivity to the experience, without needing to code. This tutorial will guide you through the process of creating and uploading your first Spatial experience using the Creator Toolkit on Unity.
Before we get started:
- Create an account with Spatial
- Install Unity version 2021.3.21 and install the “WebGL Build Support” module with it. If you don’t yet have Unity Hub installed, you will need to install it first
- Download the Spatial Unity Starter Template
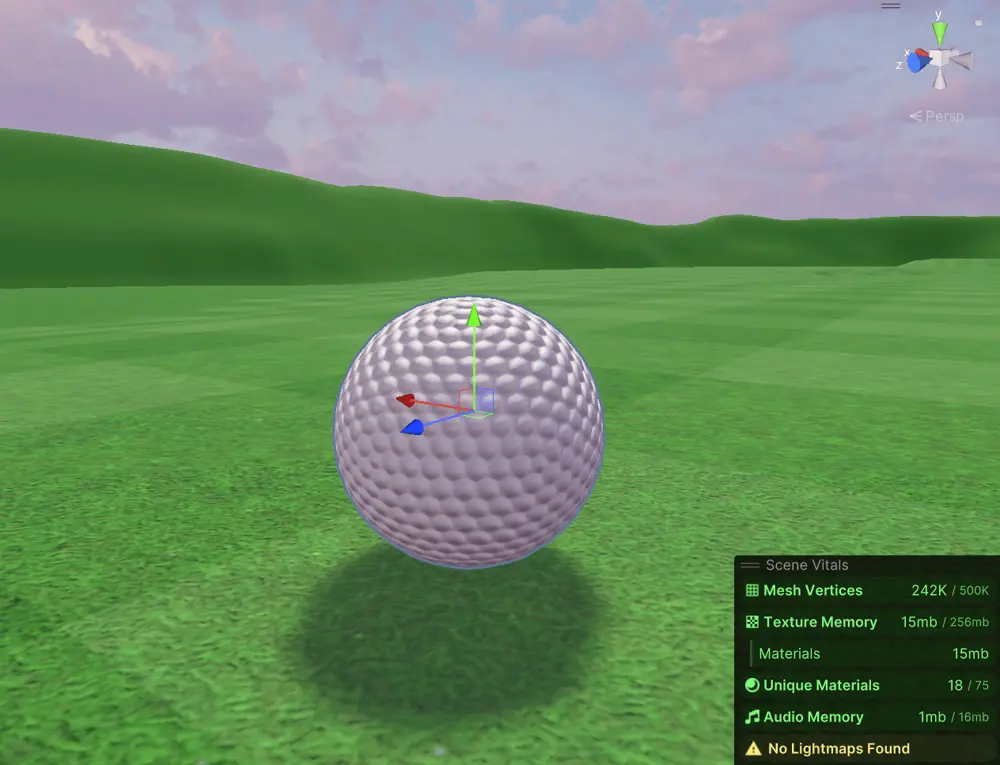
- Download this 3D golf ball in .obj file format
- Download this Monstarlab Badge
Start by opening the Spatial Starter template project in Unity. You will be prompted to update to the latest Spatial SDK. Click 'yes' and allow the project to load. We will need to configure our Spatial credentials first. Click on the 'Spatial SDK' tab in the header > Account. This will open the Spatial Portal window (which we will keep coming back to).
Click on "Get Login Token", which will redirect you to your browser where you can copy your token directly to your clipboard. Once you copy it, come back to Unity and click on "Paste Login Token". Now you should be ready and set up to start working!

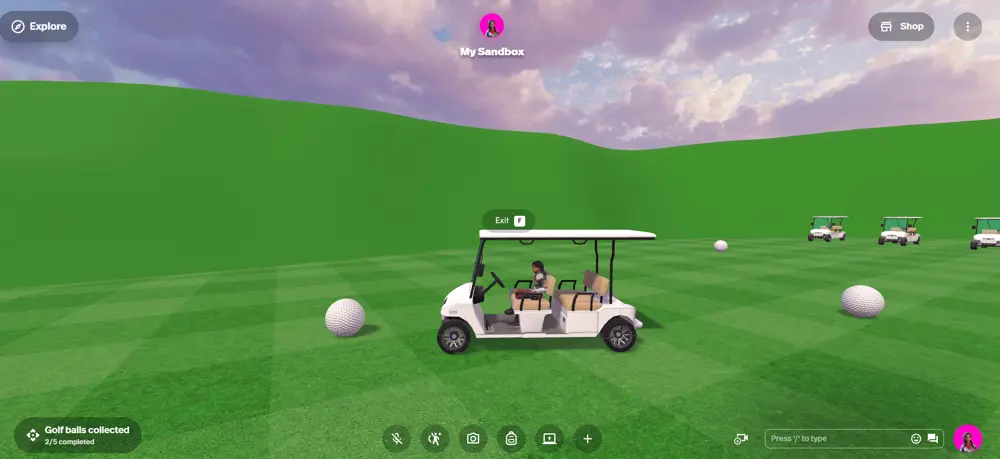
In the Spatial Portal window, under the 'Config' tab, set 'Active Package' to 'Space - Golf Course'. Now that we've set this golf course environment as our active scene, we can go ahead and test this scene in Spatial by clicking on 'Test Active Scene' at the top of the window.

You can walk around using your arrow keys. Walk up to the golf cart and click [F] to drive it. Now your arrow keys will drive the golf cart around the scene! This is already pretty fun, but let's go back to Unity and see how we can add more interactivity to this scene.
Back in Unity, let's change out the default blue sky. Open the lighting window from 'Window' > 'Rendering' > 'Lighting'. Under the 'Environment' tab, click on the small circle next to 'Skybox Material'. This will let you search through your project to replace the material. Search for 'Epic_GloriousPink' and select it.

Now, let's import the 3D model of the golf ball into the project. You can do this by opening the root of your Unity project in your File explorer/Finder and pasting the 3D model folder inside the 'Assets' folder. For more information on importing 3D objects and how to deal with materials and textures, you can read more here.
From the Project window, search for "Trigger (Collectable)" and drag this prefab directly into your scene. Set its position in the Transform component to (X: 522, Y: 4.48, Z: 654). If this is your first time using Unity, you can read here to learn how to navigate the scene view.
If you look at the 'Spatial Trigger Event' component, you can see a few things that will happen when the player walks into the radius of this object.
' game object. Scale and position it so it's roughly at the same size and position as the coin.
Make sure to switch out the coin for the golf ball in the 'On Trigger Event', so the new 3D model is disabled when collected.

Go ahead and repeat these steps for all the carts. Test the scene again in your sandbox environment and you'll find you can drive the carts around to collect the golf balls now!
Finally, to reward the players for finishing the quest, we need to publish our space first (it can be set to private). In the Spatial Portal > Config tab, select 'Create New World'and then select 'Publish'. You'll receive an email once your space is successfully published. After that, we can set up a badge in Spatial Studio.
Select your world, and then select Badges > + New Badge. Here, you can upload the Monstarlab badge that you downloaded at the start of this blog (or feel free to create your own!). Give your badge a name and description.

You may also like
Serverpod for a Weekend - The Good, The Bad, and The Surprising
I've been building Flutter apps professionally for years now, and I've seen the backend landscape evolve from Firebase to Supabase to custom Node.js APIs. Each solution came with trade-offs: Firebase locked you in, Supabase was great until you needed cust...

What I Thought Was People Management Wasn't People Management at All
This article is the 15th entry in the D-Plus🐬 Development Productivity Community Advent Calendar 2025. Day 14's article is... wait, nobody's there??? I had the opportunity to speak at D-Plus in Osaka back in May with a presentation called Task Management...
